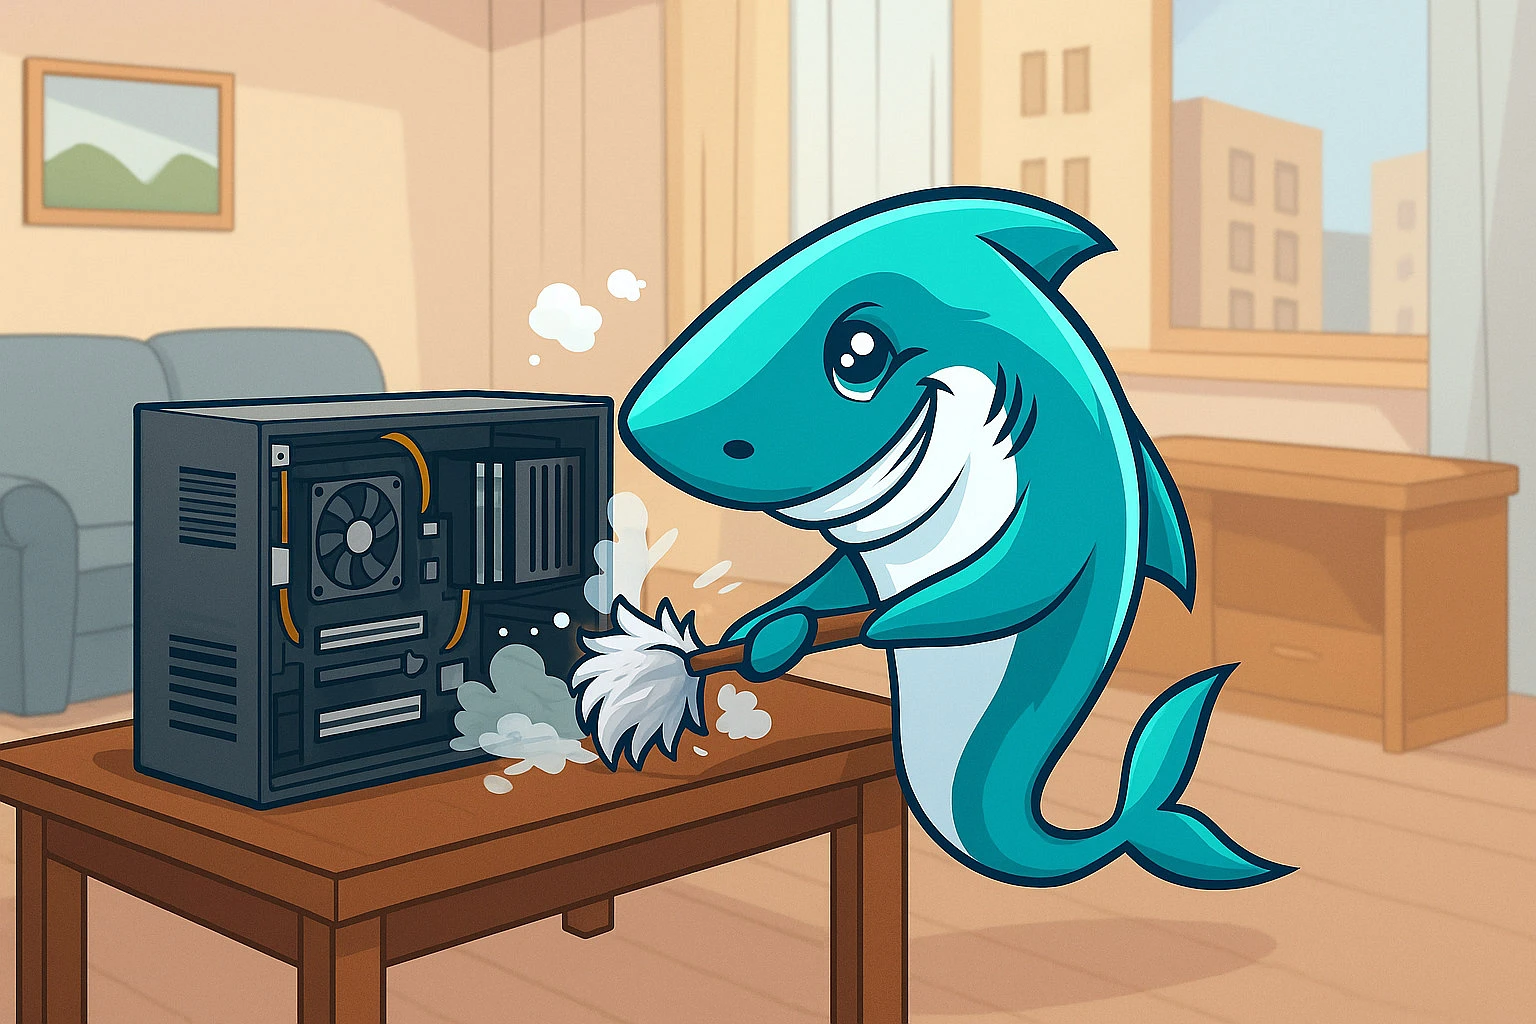
TL;DR – The 20-Minute PC Clean Cheat Sheet
- Power Down & Unplug: Shut down completely, unplug all cables from PC and wall outlet
- Go Outside: Move your PC case to a well-ventilated outdoor area or garage
- Open Case: Remove side panel(s) using thumbscrews or regular screws
- Blow Out Dust: Use compressed air in short bursts, always hold fans still while cleaning
- Target Key Areas: Focus on CPU heatsink, GPU fans, case fans, and air vents
- Wipe Surfaces: Clean case interior and exterior with microfiber cloth
- Clean Filters: Rinse or vacuum any removable dust filters
- Check Cables: Ensure all connections are secure and cables allow good airflow
- Reassemble & Test: Put everything back together and power on for immediate results
Why Bother? The Real Benefits of a Clean PC

-
Prevent Overheating and Thermal Throttling
Dust coats components like a heavy coat, trapping heat inside. This makes a CPU or GPU slow itself down to avoid damage. So even a powerful machine might end up running at half-speed because it's just dirty.
A dusty processor can easily hit temperatures like 80°C or higher. But a simple cleaning can drop those temps by 10 or even 20 degrees. This stops the slowdown, letting your hardware run at its best during a long gaming session or a big rendering task. It’s an easy way to get performance back.
-
Boost Performance and Longevity
Lower temperatures translate directly to better performance and longer component life. Electronics hate heat – every 10°C reduction in operating temperature can roughly double the lifespan of your components. That $500 graphics card or $300 processor will thank you with years of additional reliable service.
Clean components also maintain their boost clocks longer, meaning your games run smoother and your work gets done faster. It's like getting a free performance upgrade.
-
Reduce Fan Noise
Dusty heatsinks lose efficiency. A system then ramps up fan speed to compensate, creating that familiar whine. But once cleaned, fans can slow right down. This directly cuts noise, resulting in a much quieter machine. For some people, a good clean changes a distracting roar into a whisper-quiet PC. It’s a change you notice more than any software tweak.
-
Improve System Stability
A hot PC doesn't just throttle performance; it becomes a glitchy mess. The real danger is system instability—random blue screens, sudden crashes, and even file corruption. Keeping your rig clean is about reliability. You get a stable system, free from those baffling shutdowns that wreck a crucial work save or an intense gaming match.
Safety First! How to Avoid Zapping Your Rig

-
Power Down and Unplug Everything
This isn't optional. Shut down your computer completely, then unplug the power cable from both the wall outlet and the PC. Also disconnect all other cables – USB, monitor, ethernet, everything. Working on a powered system, even one that's "turned off," can damage components or give you an unpleasant shock.
-
Grounding Yourself: Simple and Effective
Static electricity can fry sensitive computer components instantly. Proper grounding is easier than most people think. Simply touch the metal case of your unplugged PC periodically while working. This equalizes any static charge between you and the computer.
An anti-static wrist strap provides extra insurance, but it's not mandatory for basic cleaning. Avoid working on carpet, and don't wear synthetic clothing that builds up static.
-
Work in a Well-Ventilated Area
You'll be blowing dust everywhere, so work outside, in a garage, or in a well-ventilated room. Your lungs (and anyone else in the house) will appreciate not breathing computer dust for the next hour.
-
Handle Components with Care
Never touch the gold contacts on RAM sticks, expansion cards, or cable connectors. When cleaning fans, always hold them steady by their center hub – never let them spin freely, as this can generate unwanted electrical current or damage the fan motor.
The Step-by-Step Pro Cleaning Process

Step 1: Preparation and Moving to Your Workspace
Start by taking a photo of your cable connections before unplugging anything. This simple step saves confusion during reassembly. Gather all your cleaning tools and move to your chosen workspace – ideally outside or in a garage where dust won't matter.
Step 2: Opening the Case and Initial Inspection
Most modern cases use thumbscrews for the side panels, making removal tool-free. Remove the left side panel (when facing the front of the case) to access the main components. Some cases require removing both panels.
Take a moment to assess the situation. Look for major dust accumulations, particularly around the CPU heatsink, graphics card, and case fans. Notice how cables are routed – you'll want to put everything back the same way.
Step 3: The Art of Using Compressed Air
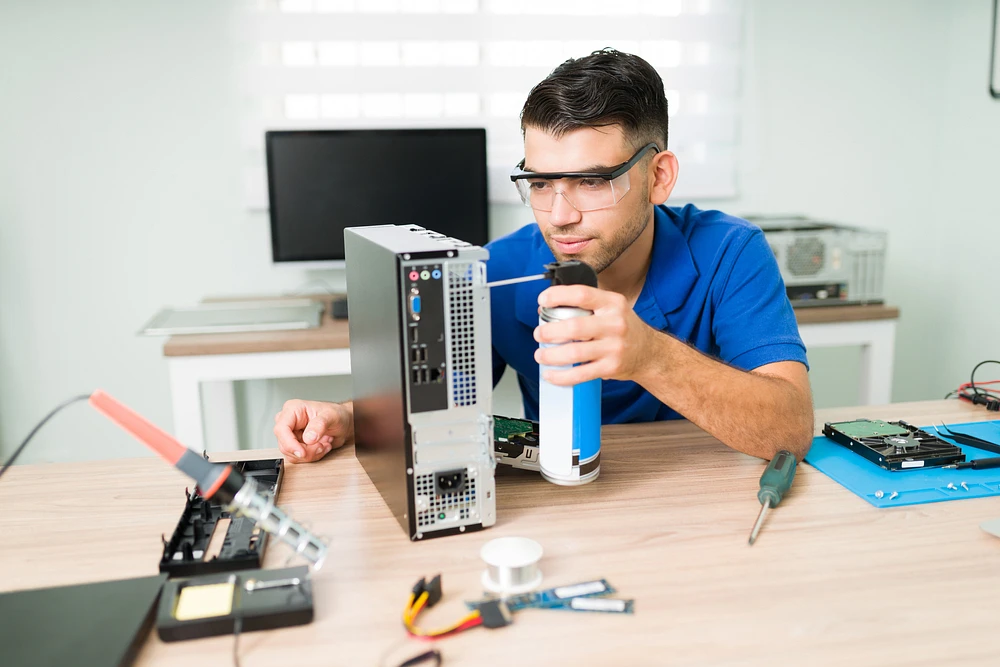
This step makes or breaks your cleaning job. Hold fans completely still with your finger or a pencil while blowing air through them. Free-spinning fans can generate back-voltage that damages motherboard headers or destroys the fan motor.
Use short, controlled bursts rather than continuous streams. Keep the compressed air can upright – tilting it can spray liquid propellant that damages components. Work from top to bottom, allowing dislodged dust to fall out of the case.
Step 4: Cleaning the CPU Heatsink and Fan
The CPU area typically collects the most dust since it's the primary heat source. Remove thick dust layers with gentle compressed air bursts, working from multiple angles. Pay special attention to the fins of the heatsink – dust loves to pack between these thin metal strips.
If dust is really caked on, use a soft brush to gently dislodge it before using compressed air. Cotton swabs work well for cleaning individual fan blades.
Step 5: Cleaning the GPU (Graphics Card)
Graphics cards need special care due to their weight and complex cooling systems. Support the card with one hand while cleaning to prevent stress on the PCIe slot. Focus on the fans and heatsink fins, which often accumulate significant dust.
Some graphics cards have removable fans, but don't attempt removal unless you're comfortable with the process. Surface cleaning is usually sufficient.
Step 6: Cleaning Case Fans and Ventilation
Case fans are dust magnets, especially intake fans that pull air through filters. Clean both sides of each fan, holding them steady while you work. Don't forget exhaust fans, which can accumulate dust on their back sides.
Check all ventilation grilles and air vents around the case. These areas often have thick dust buildups that restrict airflow even when internal components are clean.
Step 7: Cleaning Dust Filters
Many modern cases include removable dust filters in front of intake fans. These filters do their job almost too well, becoming completely clogged over time. Remove them according to your case manual – usually they slide or pop out easily.
Rinse washable filters with water and let them dry completely before reinstalling. For non-washable filters, use a vacuum cleaner on low power or compressed air.
Step 8: Wiping Down Surfaces
First, wipe down the case, inside and out. A slightly damp microfiber cloth with some isopropyl alcohol does the job. It cleans off grime and doesn't leave anything behind. Just be careful around ports and connectors; you want to keep moisture away from them.
Next, focus on intake and exhaust vents. They collect a sticky, dense dust that compressed air can't remove. You have to wipe this kind of dust away by hand to make sure airflow is good.
Step 9: Cable Management Check
With the case open, make sure cables aren't blocking fans or air channels. Try tucking them behind the motherboard tray. Use zip ties to secure any loose bundles. Good cable management isn't just for a clean look. It helps a lot with cooling. It also stops dust from building up in tangled wires, which makes cleaning everything later much easier.
Step 10: Final Check and Reassembly
Final checks before buttoning it up. Give every fan cable a gentle tug to confirm they’re secure. Visually scan for any stray screws or bits of plastic inside the case. Don’t forget the dust filters—pop those back in now to avoid a rookie mistake. Slap the side panels on, then use your reference photo to replug all cables. This last step is crucial; a single missed power connector can mean the whole thing won't post.
Frequently Asked Questions (FAQ)
How often should I clean my PC?
Clean a computer every six to twelve months. That schedule works for most setups. But some places are dustier. Maybe you have pets, or a computer is on constantly. Then cleaning every three months is better. How do you know it’s time? Just listen. A fan whirring too loud is a clue. Or feel for heat that seems unusual. See dust gathering in the vents. That’s your signal.
Can I use a vacuum cleaner to clean my computer?
Be careful with vacuums. They can build up static electricity. That static can wreck stuff inside a computer. If you need to use one, keep it on a low power setting. Only aim it at dust filters or maybe around your desk. Never point a vacuum directly at computer parts.
Is it safe to use water or household cleaners?
Stay away from water, window sprays, or any household chemicals. They can cause shorts, corrosion, or leave a sticky film. For any wet cleaning, use isopropyl alcohol that’s 70% or higher. Put a small amount on a cloth first, never straight onto parts.
My PC still gets hot after cleaning. What's wrong?
If temperatures remain high after thorough cleaning, consider these possibilities: old thermal paste (replace if system is 2+ years old), inadequate case ventilation (add more fans), ambient room temperature too high, or failing cooling components. Sometimes a deep clean reveals that your cooling system needs upgrades.
Do I need to remove components to clean properly?
For basic maintenance, removing components isn't necessary. You can clean effectively around installed parts. Only remove components if you're comfortable doing so and need access for deeper cleaning. When in doubt, surface cleaning is safer and still highly effective.
What if I accidentally break something while cleaning?
Take your time and use gentle pressure. Most cleaning damage occurs from rushing or using excessive force. If you do damage something, don't panic – many issues like loose cables or unseated RAM are easily fixed. For serious damage, consult a professional before attempting repairs.
Can I clean a laptop the same way?
Laptops require different techniques due to their compact design and integrated cooling systems. While the principles are similar, laptops often need partial disassembly for proper cleaning. Consider professional service for laptops unless you're experienced with their specific disassembly procedures.


