🎯 Too Long; Didn’t Read
The Step-by-Step Progression:
-
First, master the dead hang. Hold it for a full sixty seconds. This isn't just about grip strength; it’s where you learn to fire up those back muscles. Follow it with active hangs to reinforce that engagement.
-
Strength comes next, and negatives are non-negotiable. Use a jump to get your chin over the bar, then lower yourself down with brutal slowness. This is the single most important exercise for building the required strength. For the full pulling motion, use assistance. A resistance band or a chair for your feet works. The goal is to progressively wean off that help. Also, integrate inverted rows. They hammer the same pulling muscles but with a portion of your bodyweight, making the movement more accessible.
-
A solid core is mandatory. Without it, you’ll swing like a pendulum, wasting energy. Exercises like hollow body holds and planks create the rigid body structure needed for efficient pulling.
-
Finally, the technique. Don’t just think about pulling your chin to the bar. The cue is to drive your elbows down toward your hips. This mental shift ensures your back does the primary work, not just your arms.
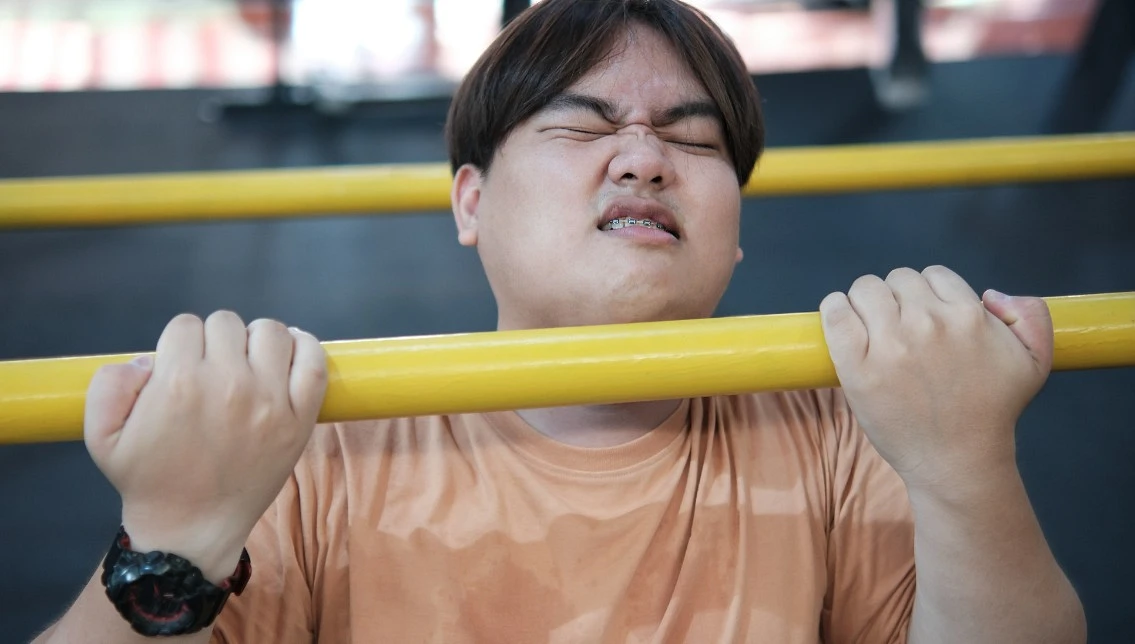
Pull-ups expose weakness fast. You hang there, arms straight, and either you go up or you don't. There's no faking it. Most people can't do even one when they start training. That's normal.
This guide breaks down how to build the strength you need. No shortcuts exist, but a clear path does.
Why Pull-Ups Are Hard
Your body weighs something. Could be 120 pounds, could be 250. Whatever that number is, you're lifting it with your back and arms. That requires serious strength in muscles most people rarely use.
Sitting at desks, driving cars, walking around—none of these activities prepare you for pulling your chin over a bar. Your lats, the muscles running down your back, probably haven't worked this way before. Same with your biceps, forearms, and grip.
Women often face a tougher challenge than men, largely due to lower upper body muscle mass.
Height plays a role too—taller individuals must pull across a greater distance. Then there's weight: heavier people are moving more mass. None of this is about making excuses. These are just real variables that shape how long it takes.
Start With Your Grip

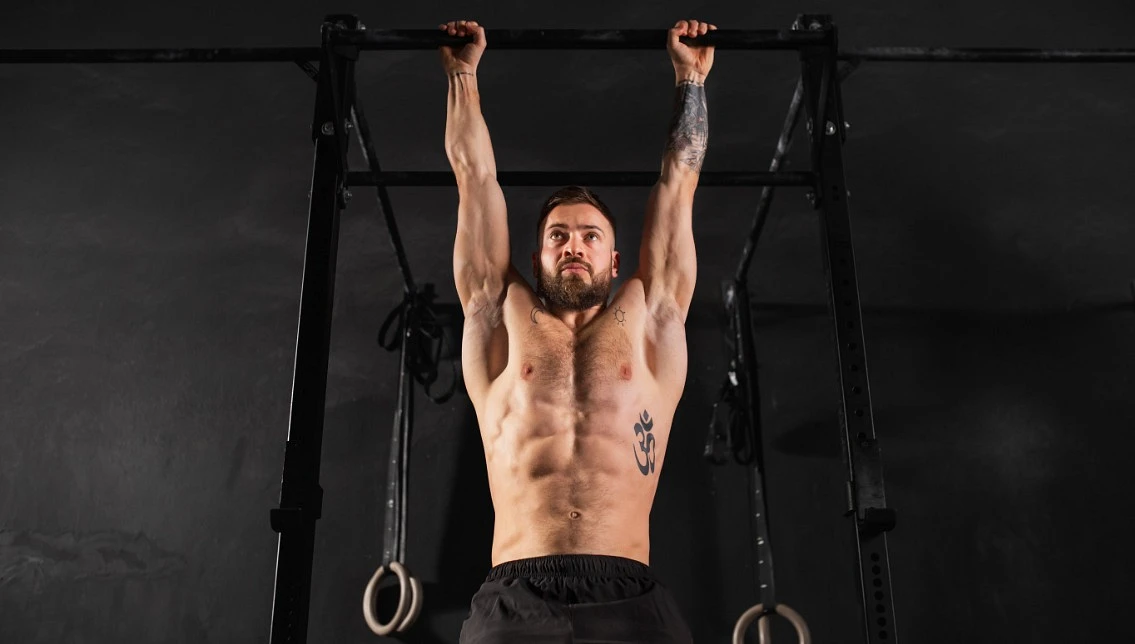
Dead Hangs
Find a bar and get a grip.
-
Hang with your arms straight and shoulders relaxed—keep them away from your ears. If you can't make it to 30 seconds, hold off on progressing.
-
Work dead hangs into your schedule three times a week. Build up until you can hang for a full minute. Your forearms will burn; that's how you know it's effective.
Grip the bar with intent. Don't just go limp; squeeze hard and engage your muscles.
Active Hangs
Once dead hangs feel manageable, try engaging your shoulders. Instead of hanging loose, pull your shoulder blades down and together slightly. You won't move much—maybe an inch or two—but you'll feel your back muscles activate.
This teaches your body what pulling actually feels like. Hold these engaged hangs for 20-30 seconds, rest, repeat.
Build the Required Strength

Negative Pull-Ups
This is where real progress starts. Negatives mean you begin at the top position and lower yourself down slowly.
Jump up to get your chin over the bar, or use a box to step up. Now lower yourself as slowly as possible. Fight gravity the whole way down. When you can do 8-10 negatives taking 5 seconds each to descend, you're getting close to doing a real pull-up.
Do these twice per week with at least two days between sessions. Your muscles need recovery time.
Assisted Pull-Ups
Resistance bands work. Loop one over the bar, stick your foot or knee in it, and the band helps push you up. Start with thick bands that give more assistance. Gradually move to thinner ones.
Or use a chair. Keep one foot lightly touching it and use just enough leg push to complete the movement. The goal is to use less help over time.
Inverted Rows
Find a bar at waist height—a Smith machine works, or gymnastics rings you can adjust. Lie underneath it, grab the bar, keep your body straight, and pull your chest up to meet it.
This builds the same pulling muscles but you're working against less of your bodyweight. Make it harder by elevating your feet or moving the bar lower.
Do 3 sets of 8-12 reps twice weekly.
Strengthen Your Core
Most people don't realize their abs and lower back matter for pull-ups. If your core is weak, your body swings around when you try to pull. Wasted energy.
Hollow Body Holds
Lie on your back. Press your lower back flat against the floor. Lift your shoulders and feet a few inches off the ground. Arms extend overhead. This position sucks, which means it's working.
Hold for 30-60 seconds. This is the body position you want during a pull-up.
Planks
Standard planks build the same bracing strength. Keep your body rigid, don't let your hips sag. Breathe normally—holding your breath helps nothing.
Work up to 2-minute holds.
Perfect Your Form

Technique matters more than people think. Bad form makes pull-ups harder and increases injury risk.
Hand Position
Grab the bar slightly wider than shoulder-width for standard pull-ups. Palms face away from you. This is pronated grip, and it's the hardest version.
Chin-ups use palms facing toward you. These are easier because your biceps contribute more. Start with chin-ups if you want.
Don't use a mixed grip where one hand faces each direction. That creates uneven muscle development.
The Pull
Initiate the movement from a dead hang, arms fully extended. First, pull your shoulder blades down and back. This fires up your lats.
Now, the key part. Drive your elbows toward your hips. Don't just think about getting your chin over the bar. That mental shift is a game-changer. It forces your back to do the work, so you aren't just relying on arm strength.
Pull until your chin clears the bar. Going higher is showing off unless you're training for something specific.
The Descent
Control it. Don't just drop. Lower yourself with the same control you used pulling up. This builds even more strength than the upward portion.
What to Avoid
Don't kip or swing. Crossfit-style kipping pull-ups are a different exercise entirely. They're fine for conditioning, but they won't teach you a strict pull-up.
Don't shrug your shoulders up toward your ears. Keep them down and back.
Don't crane your neck. Your head position should stay neutral. If you're throwing your head back to get your chin over, you're compensating for weakness.
Don't hold your breath. Breathe out as you pull up, in as you lower down.
Create a Training Program

Frequency
Hit pull-ups three times a week. Mon-Wed-Fri works; Tue-Thu-Sat does too. Stick to the rhythm, not the rigid dates. Muscles grow when you're off, not when you're grinding. A two-day break between sessions? That's your recovery window—enough to heal without losing steam.
Volume and Sets
Start with what you can manage. Maybe that's three sets of five negatives. Or perhaps five sets using a heavy band for assistance. That's solid.
Avoid training to failure every single time. The real signal to stop isn't just fatigue—it's when your form cracks. You can't control the movement cleanly anymore. Cranking out junk volume just trains faulty patterns. It teaches your body the wrong way to move.
Progressive Overload
Each week, make something harder. Add one more rep per set. Use a lighter resistance band. Lower yourself slower during negatives. Decrease how much you push with your leg on assisted reps.
Small changes compound. Adding one rep per week doesn't sound like much, but in three months that's significant progress.
Sample Week
This schedule builds the strength for your first pull-up. It's a three-day rotation. Rest four days each week. Feel free to do other training, but avoid wrecking your back or arms right before these sessions.
Day 1: Foundation. Grip strength and shoulder health come first.
-
Dead hangs: three sets, hold for 30 to 45 seconds.
-
Next, negative pull-ups. Jump to the top position, then lower yourself down slowly—aim for a five-second descent. Do four sets of five reps.
-
Move to inverted rows for three sets of ten.
-
Finish with hollow body holds. Three sets, thirty seconds each. This trains your core to stay tight.
Day 2: Support & Assistance
-
Start with active hangs. Engage your shoulder blades; three sets of twenty seconds.
-
Then, assisted pull-ups. Use a band or a machine for four sets of six to eight reps
-
Don't skip bicep curls—three sets of ten. They provide direct help, so just do them.
-
Finish with planks. Hold for sixty seconds per set.
Day 3: Progressive Challenge. Test your endurance.
-
Dead hangs for max time, three sets.
-
Next, negative pull-ups again, but go for three sets of eight reps. The descent should be even slower now.
-
Inverted rows increase to twelve reps per set.
-
Core work also intensifies: the hollow body holds for forty-five seconds each.
The four rest days are mandatory. Your muscles rebuild and get stronger during this downtime.
Timeline Expectations
Your starting point dictates everything: your existing strength, body weight, age, and training consistency. There's no universal timeline.
With a solid strength base, you might get your first pull-up in 4–6 weeks. Starting from zero? Expect a 3–6 month grind. If you're carrying significant extra weight, you could be looking at a year—that timeline often includes the necessary work to drop pounds.
These aren't failures. Just different starting lines.
Common Mistakes That Slow Progress
Training Too Often
More isn't better. Your muscles need time to repair and grow stronger. Hitting pull-ups every day just ensures you're always partially recovered, never fully adapted.
Not Getting Strong Enough First
Jumping on the bar and struggling when you can't even do 30-second dead hangs wastes time. Build the foundation properly.
Neglecting Other Pulling Movements
Rows, lat pulldowns, bicep work—all of this contributes to pull-up strength. People who only practice the exact movement sometimes progress slower than those who build general pulling strength.
Gaining Weight
If you're trying to learn pull-ups while bulking up or eating in a surplus, you're making it harder. Every pound added is another pound to pull. Time your goals appropriately.
Giving Up Too Early
Most people quit after a few weeks when they don't see dramatic progress. Strength builds slowly. Keep showing up.
Using Too Much Assistance
That thick resistance band feels comfortable, but if you never challenge yourself with less help, you'll stay dependent on it. Progress to lighter bands even when it's uncomfortable.
Nutrition and Recovery

Protein Matters
Muscles require protein for repair and growth. Shoot for roughly 0.7 to 1 gram per pound you weigh each day. The source isn't the main game—chicken, fish, eggs, beans, or a quick shake all work. Just hit that daily number. Don't sweat the timing. Get your total in by the end of the day. That's what counts.
Sleep
Seven to nine hours nightly. Maybe you think you function fine on six. You don't. Muscle recovery happens during sleep. Skimp here and your progress stalls.
Managing Soreness
Your lats, biceps, and forearms will get sore, especially early on. That's normal. Sore is okay. Sharp pain is not. Learn the difference.
Light movement helps soreness more than complete rest. Go for a walk, do some stretching, move your arms through their range of motion. Blood flow aids recovery.
Breaking Through Plateaus
At some point, progress stops. You've been doing 8 negative pull-ups for three weeks and can't add another rep. Or you're stuck using the same resistance band.
Change the Stimulus
Switch up your exercises. If you've been doing only negatives, add more rows. If you've focused on assisted pull-ups, spend two weeks on negatives instead.
Different angles and movement patterns can unlock progress.
Add Volume
Instead of 3 sets of 8, try 5 sets of 6. Same total reps, but spread differently. This can provide a new challenge that breaks the plateau.
Take a Deload Week
Sometimes you just need less. Do half your normal volume for a week. Your body catches up, supercompensates, and you come back stronger.
Check Your Diet and Sleep
Plateaus often happen because recovery is inadequate, not because your programming sucks. Eat more protein. Sleep an extra hour. See what happens.
Getting Your First Pull-Up
You've been training for weeks or months. The negatives feel controlled. Assisted reps need barely any help. You think you might be ready.
Pick a day when you're fresh. Warm up thoroughly—jump up and down, do arm circles, hang from the bar a few times. Get your body ready.
Grip the bar. Take a breath. Pull.
You might surprise yourself. Or you might get halfway and stall out. Both are fine.
If you make it, congratulations. That's a real milestone. If you don't, you're close. Try again in a few days.
What Comes After One
Getting from zero pull-ups to one is hard. Getting from one to two is also hard, just differently. Don't expect to suddenly crank out five reps.
Keep training the same way. Do your one pull-up, then finish your sets with negatives or assisted reps. Next week, try for two. Build gradually.
Long-Term Goals
Once you can do a few pull-ups, new possibilities open up.
-
Work toward sets of 10. Then 15.
-
Add weight with a belt and plates.
-
Try different variations—wide grip, close grip, L-sits, muscle-ups if you're feeling ambitious.
Or just maintain what you've built. Being able to do pull-ups is functional strength that serves you in activities beyond the gym. Rock climbing becomes easier. Moving furniture doesn't wreck you. You can actually help someone pull themselves up over a wall or ledge.
The strength you build here doesn't disappear quickly. Even if you stop training pull-ups specifically, maintaining the ability is easier than building it the first time.
❓FAQ❓
Can pull-ups help improve posture?
Yes, building back and shoulder strength through pull-ups can enhance posture by counteracting slouching from prolonged sitting.
How important is warming up before pull-up training?
Warming up increases blood flow, reduces injury risk, and prepares muscles and joints for the load of pull-ups.
Is it okay to combine pull-ups with other types of training?
Yes, combining pull-ups with complementary strength and mobility exercises can accelerate progress and overall fitness.